We use ClickBank as our main payment processor that makes it very easy for our users to purchase new or download already purchased spreadsheet templates.
If for some reason you had a trouble downloading, you can get back to the download page (as shown in the image) by simply clicking on the following button or also by following the link in the receipt that's emailed to you after your purchase.
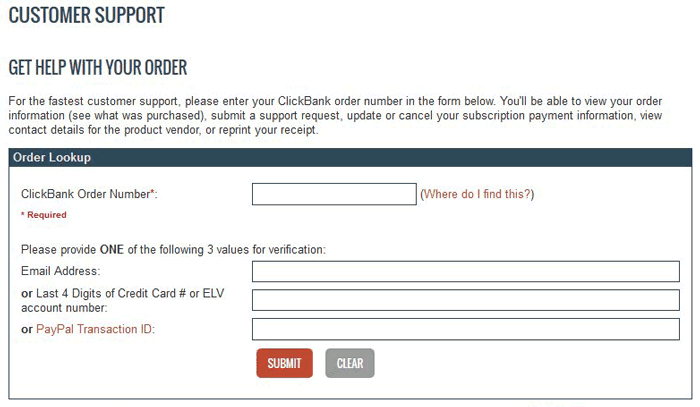
You will be required to submit your ClickBank Order Number, which can be found in the receipt that was emailed to you after your purchase, on your credit card statement, or on your PayPal receipt and one of the following, your email address, or last 4 digits of your Credit Card, or PayPal Transaction ID.
Once required information is submitted, the following screen will appear with Download Now button in the upper right corner as shown on the image below.

If after clicking on Download Now button nothing happens, some browser security settings along with anti-virus software and browser add-ons can partly interrupt this process and would not redirect you to a page where you should download the software that you have purchased. If this is the case, please email us describing any errors that you have experienced, so that we can work to resolve a problem.
We can also email you software, just remember to include your ClickBank Order Number (this can be found on your receipt) and the name of the software/spreadsheet you purchased from us. This enables us to track your transaction and can significantly reduce our response time.
Note: For security reasons, we are not able to send your template to any email address other than one on your ClickBank receipt.
There are few different methods, but the easiest out of all is to click on the download link again and try saving your file to the desired location.
On most computers files are downloaded to the default Download or My Download folder or sometimes directly to your Desktop, but if you are unable to locate your file(s), you may want to try searching for your file using standard file search facility of your computer:
PC users: By going to the "START" menu at the bottom left of your screen and clicking "Search for files and folders" on Windows XP, or using "Search Programs and Files" tool, which is integrated into the "START" menu of Windows Vista and all other versions thereafter.
Mac users: If you are on Mac, by default, all downloaded files are located inside your Download folder unless specified otherwise.
For your own security most of Excel 2010 and Excel 2013 files downloaded from internet that are opened for the first time on your computer will often open in Protected View and display a message stating that "This file is originated from an Internet location and might be unsafe" or something similar, so if you are sure about the origin of the file then you can safely click on the Enable Editing button to be able to to edit your file.
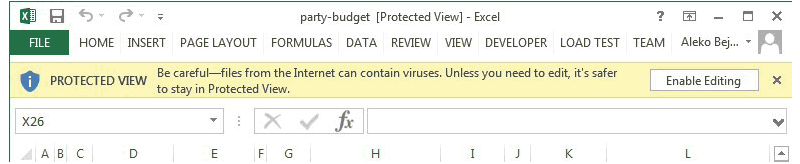
More information about Protected View is available at support.microsoft.com.
There are several possible reasons why this could happen, but the common cause of this problem is that the file has been opened prior to extracting from the .zip archive.
Another cause could be that the file is already open in your browser (yes, this could happen in some browsers).
Also, if you are trying to open an Excel file while it has been open in another version of Excel on your computer, Excel will fire up a message stating that this file is already opened and if you still want to open another copy you may do so in a Read Only mode.
Cells usually display contents as "#######" when contents of that cell is wider than the width of the cell. To fix this, you should either adjust the width of the column or alternatively decrease the font size. Adjusting cell width could sometimes lead to another problem especially when workbook has predefined printing area. For more information please read "How to Adjust Print Area".
Adding new Currency Symbols to predefined list of currencies on the Invoice or Price Quote Templates


